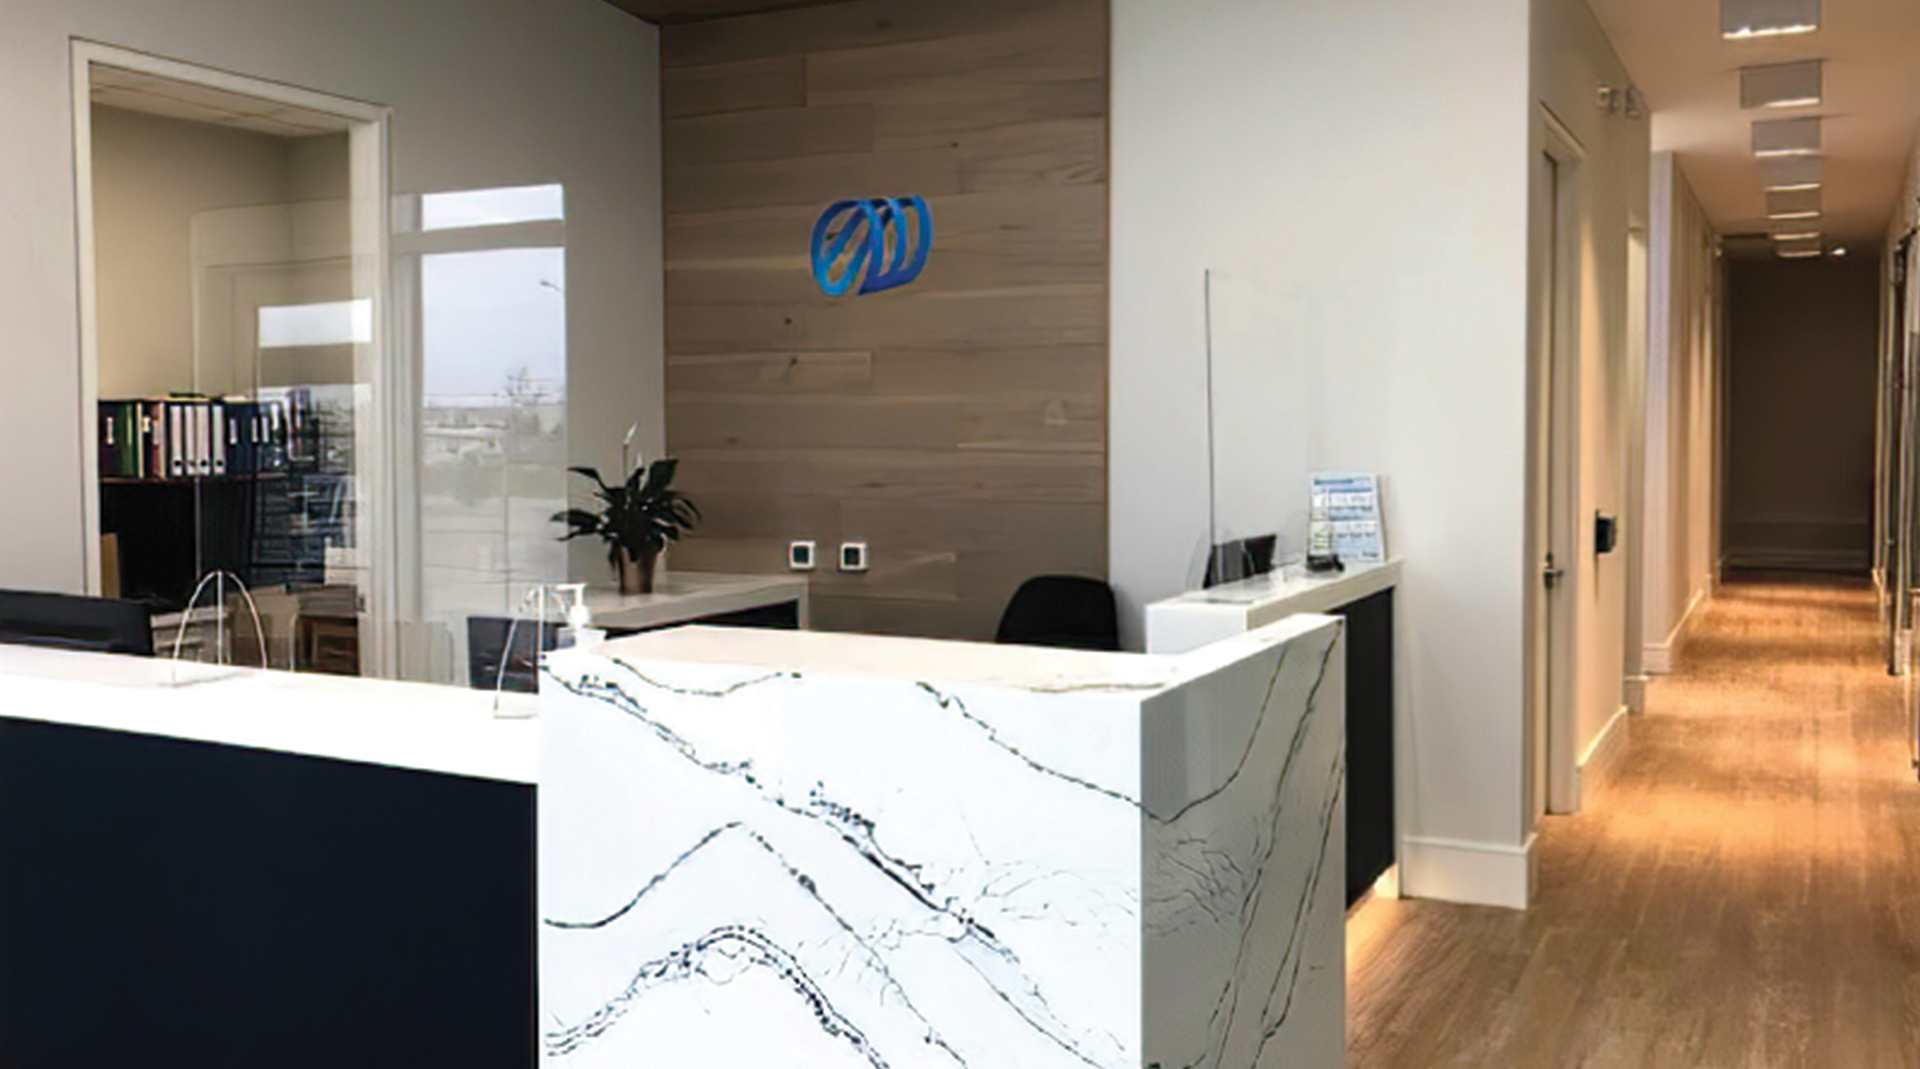
Get to know the Dr. Elston Wong Dentistry team
Our goal? We're glad you asked.
We aim to provide health-conscious patients with superior, customized dental care that enables people to smile confidently, chew comfortably, and maintain whole-body health. Dentistry is always changing, and our team is constantly keeping up-to-date in order to deliver better, longer-lasting results than what could be done before. Ever wonder what the best dentistry is? It’s the dentistry that keeps you away from the dental office.

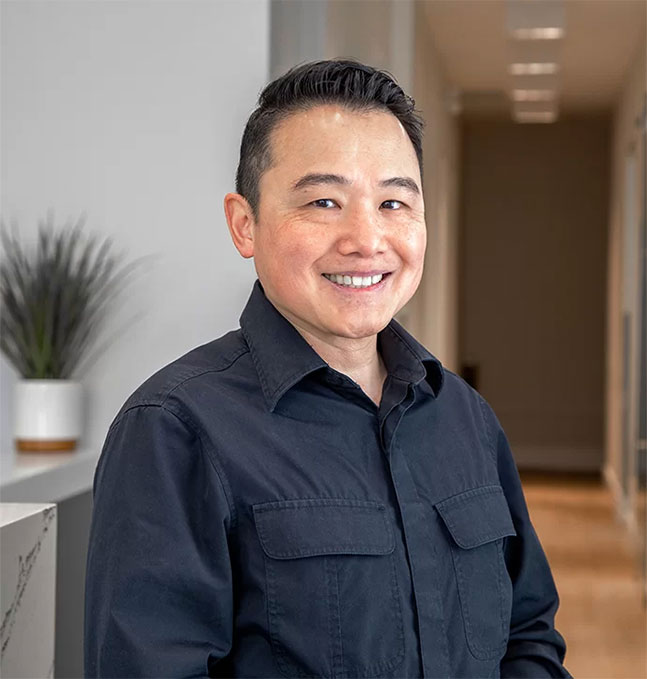
Founder & Senior Dentist
Dr. Elston Wong
We’ll just say it – Dr. Wong loves dentistry! He also loves the way things are always improving, and how an independently-owned office is best positioned to keep up. Driven by a passion to create a dental home for those who share an enthusiasm for quality health care, Dr Wong strives to bring the highest dentistry standards to his clinic. Oh, and he hates traffic and raw onions!

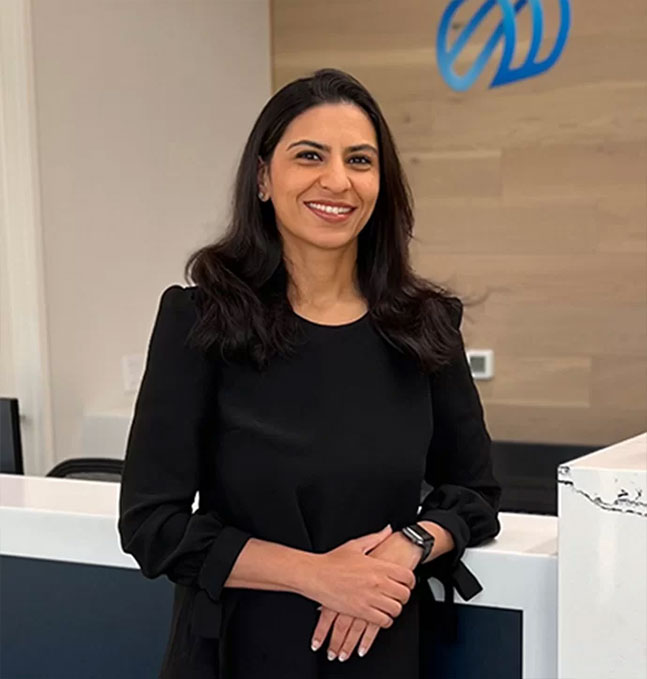
Dentist
Dr. Mansi Pabari
Dr. Mansi Pabari offers a skill set seldom found in general dentistry. She is an internationally trained Dentist and Oral and Maxillofacial Surgeon practicing since 2007, and also graduated with her DMD degree from the McGill Faculty of Dental Medicine and Oral Health Sciences in 2022. She believes in a patient-centered holistic approach and likes to develop a bond with her patients, in order to make their dental experience a comfortable one.

Dentist
Dr. Linda Wang
Dr. Linda Wang grew up in Toronto and earned her Doctor of Dental Medicine degree from McGill University, graduating with distinction. She went on to complete an Advanced Education in General Dentistry residency at the Eastman Institute for Oral Health in Rochester, New York. Since then, Dr. Linda has practiced in both Toronto and Sault Ste. Marie, and she is excited to settle down in Barrie!
Keshia
Our dedicated office manager Keshia has been an invaluable asset to the practice since 2009. Ensuring the smooth operation of the dental practice, she brings her organizational expertise and a warm, patient-centric approach to the forefront. With unwavering professionalism, and exceptional interpersonal skills, she ensures that patients receive top-notch care and a seamless experience from the moment they walk through the door.
Keshia is a loving mother of two, effortlessly juggling the roles of dedicated wife and caring mom. In her spare time, Keshia enjoys unwinding with her favorite Netflix series, indulging in crafting projects, savoring a glass of wine, and cherishing quality moments with both her family and friends.
Fun fact: Keshia is also a certified pediatric sleep consultant.
Tannen
Tannen is our virtual administrator. She started as our dental assistant in 2019 and joined the front desk soon after. Moving to Newfoundland in 2023, she became our virtual administrator — so the friendly voice you hear may be calling from 1.5 Time Zones ahead! She really enjoys helping everyone in the office, aiming for a smooth day and bringing compassion to our patients. While she may be geographically far away, her remarkable organizational skills and memory are things we were glad not to lose. You may not know it, but she’s one of our patients’ secret problem solvers. She keeps busy exploring the island by car, water, and her favourite…by quad.
Fun fact: She has a collection of Harry Potter items.
Aline
Aline is one of our dental assistants, but possesses dental skills far beyond what you would expect. Originally from Brazil, she is actually a trained Orthodontist! Her favourite part of dentistry is meeting new people and hearing their unique life stories, and she strives to make each visit a positive experience. Outside of work, she loves cooking, traveling, and spending time with her family.
Fun fact: If you’ve got any desire to improve the alignment of your teeth, ask her for an opinion! She’s our free in-house orthodontic resource.
Doanne
Doanne has been practicing as a Registered Dental Hygienist since 2020 and is passionate about prevention of oral diseases. Because she enjoys interacting with all ages of patients and particularly kids, it is very important for Doanne to make her patients feel welcome and comfortable in the dental chair regardless of their prior experiences. Her goal is to have patients realize the abilities of current-day dentistry to not just be reactive in fixing problems, but to improve whole oral health and smiles as well! In her free time, she likes to go for walks, Latin dancing, travel, and spending time with friends and family.
Fun fact: she has some really really impressive dance skills that she has actually performed publicly!
Lindsay
Lindsay is our dedicated Registered Dental Hygienist, graduating from Georgian College in 2010 and joining our practice in 2015. With a passion for dental health and patient care, Lindsay brings years of expertise to our practice and was voted Readers’ Choice favourite hygienist in Midland 2012 and 2013. With her capable hands, attention to detail and solid understanding of the whole-body effects of oral health and disease, your smile is in great hands.
Outside of work, Lindsay enjoys spending time with her husband, who proudly serves in the Canadian Armed Forces. Lindsay finds joy in both equestrian activities and the rhythms of country tunes.
Fun fact: don’t ask us how, but she can freakishly remember details about everyone’s mouth.
Nancy
Nancy is one of our Registered Dental Hygienists. She is a long standing member of the dental community and the City of Barrie. She spends her spare time hiking, doing yoga, enjoying the outdoors and volunteering in the community. She is currently involved with the Street Souls Dog Rescue and Pawsitive Ground Search and Rescue Simcoe County. Nancy’s dedication to her career and her volunteering are evident in her spirit and direction. Her compassionate attentiveness will enlighten your appointment and make you feel at ease. She looks forward to meeting you!
Fun fact: Nancy knows everybody, like we mean everybody.
Geannine
Geannine has a wealth of clinical experience in dentistry. Born and raised in Brampton Ontario, she decided to move to a smaller town (Shelburne) and join our practice. She graduated from Medix college in 2010 with a diploma in Dental Assisting, and has since enjoyed years of working in general anaesthesia for paediatric dentistry. As a mom of four, she loves to travel and spend time with family and friends .
Fun fact: She’s also familiar with the inner workings of airline VIP lounges!
Shevon
Shevon is our Registered Nurse. She joined our team in 2015, and works with us when patients require sedation during their appointments. Her roles and responsibilities include preprocedural assessment, administration of the sedative medication, continuous patient monitoring throughout the procedure, post procedure assessment, and discharge
Shevon completed her undergraduate degree at Nipissing University in 2007. Following her graduation, she completed her Critical Care Nursing Certificate, and since then, has worked in the ICU of a local hospital. In 2013, she completed her graduate degree, earning her Master of Nursing from The University of Toronto.
Fun fact: Not sure if RN stands for Registered Nurse or Registered Nerd. Ask her about D&D if you dare.
We don’t think in terms of individual procedures. We take into account all factors — your preferences, your goals, your overall health, as well as the state of your mouth — and construct a comprehensive dental treatment plan supported by the best available evidence.